28 Nov 2024
How to Fix Common Motorcycle Electrical Problems
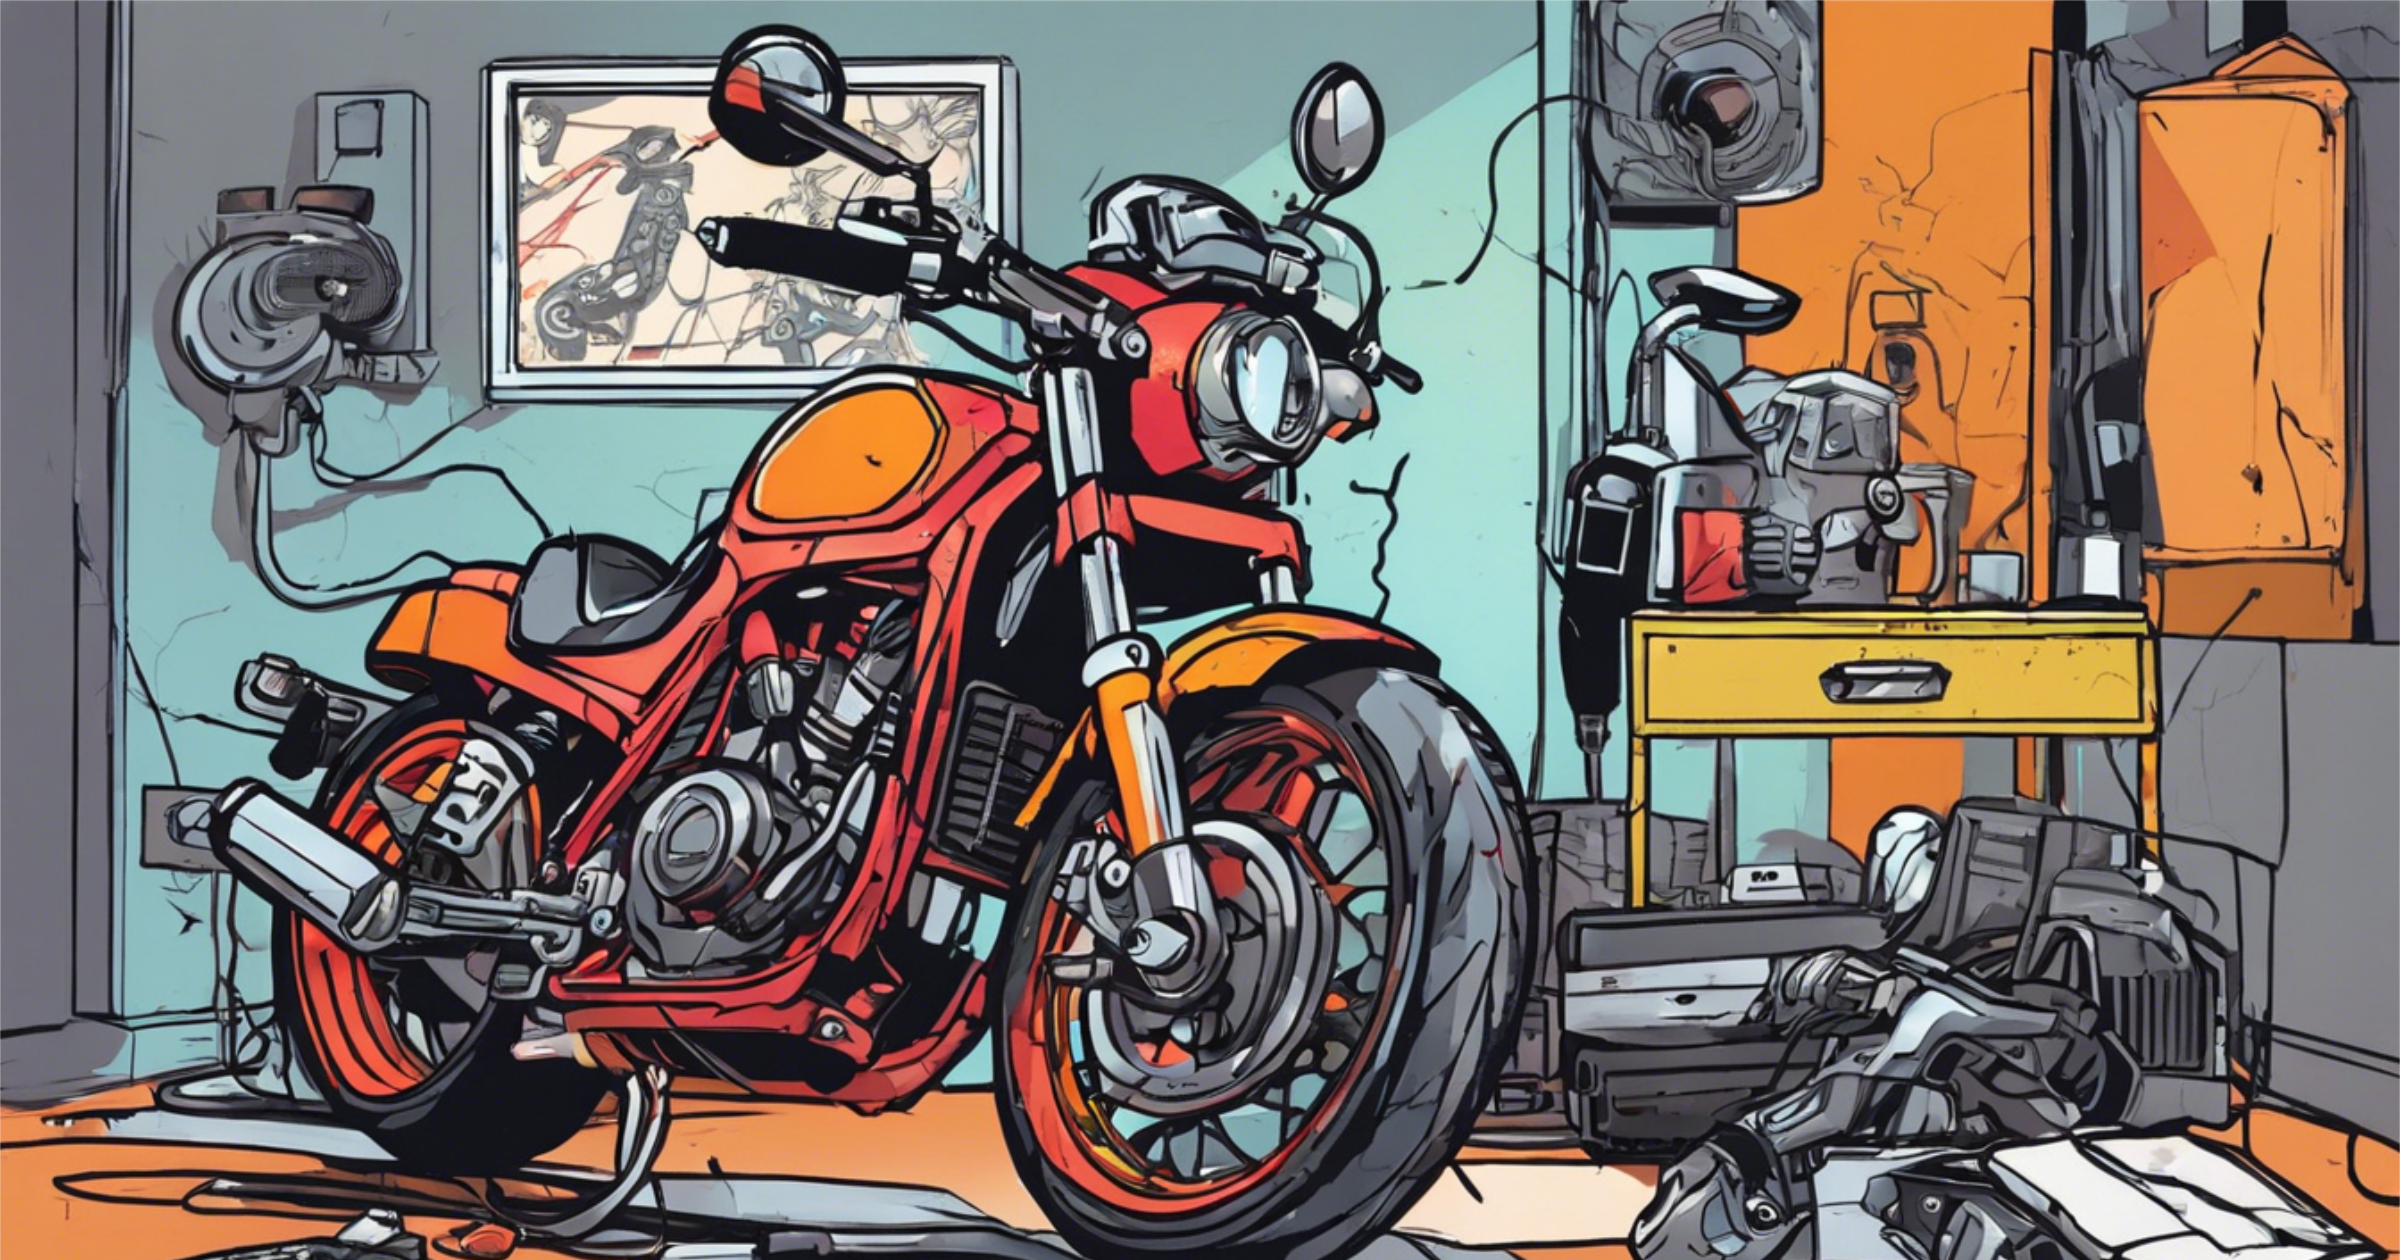
You ever have a motorcycle that won’t start or lights blinking? Those electrical gremlins can be a pain, but fear not. Fixing this stuff isn’t rocket science. Grab a multimeter and some basic tools, and you're off to the races.
I’ll walk you through diagnosing common electrical problems. You’ll find out how to troubleshoot like a pro, skipping the wasted time and frustration. Safety first, though. Always disconnect the battery before poking around. Remember, patience really is a virtue.
Whether you're a newbie or a seasoned rider, knowing your bike's electrical system can boost confidence. Imagine cruising without fear of these unexpected breakdowns. It’s a learning process of just getting to know your ride and enjoying that freedom.
Let’s sink our teeth into them and get those sparks flying again.
Key Takeaways
- You need to understand how your motorcycle's electrical system works if you're going to diagnose issues with it. Educate yourself about the battery, alternator, and wiring so you can diagnose issues with confidence.
- Typical electrical issues include dead batteries, blown fuses, and bad wiring. Knowing these usual suspects can help you quickly identify and fix them.
- Be sure to have tools on hand, such as a multimeter, wire stripper, and electrical tape. When we talk about electrical problems, these will become your best friends.
- First, check its power source to make sure it's working properly. Then, systematically go through the system to diagnose anything.
- Many electrical issues can be prevented before they begin with regular maintenance like cleaning connectors and securing wires. Stay proactive with the electrical health of your bike.
- Safety is the number one priority; always disconnect the battery before beginning repairs and wear protective gear to avoid shocks or injuries.
Understanding Motorcycle Electrical Systems
Motorcycle electrical systems power everything from your headlights to your ignition. They are the lifeblood that connects all electronic parts.
The battery, wiring, and all of the different parts work together to literally get you going on your bike. Without it, you’ve got quite a bit of dead weight on your hands. The electrical system doesn’t just bring the power; it controls mechanical systems to keep everything going.
Even the starter requires an initial spark to start the process. At night, your lights need to flicker on when you hit the road. Understanding these interactions is key when troubleshooting. It's not just about fixing things when they break—it's about knowing what to look for and why.
What is the Electrical System?
The electrical system is the backbone of your motorcycle’s operations. It all begins with the battery, which is essentially a reservoir that stores power before it gets distributed all over the bike.
Wiring channels this energy to various components, ensuring each part gets the juice it needs. Like veins in a body that bear important energy to keep the body alive, we’re all about generating and distributing that power.
If you don’t, you’ll be stuck on some side road somewhere. A healthy electrical system keeps your bike running at peak performance. It is integral to all, from acceleration to foundational safety features such as ABS.
Key Components and Functions
The key players in the motorcycle wiring system include the battery, alternator, and regulator. The battery stores energy, while the alternator generates power when the bike is running, with the regulator ensuring that the voltage remains consistent. Each electrical component plays a role but relies on the others to maintain balance. For instance, if the alternator fails, the battery will drain quickly, leading to a complete shutdown. It’s a dance of interdependence, where each part must perform its function for the system to operate smoothly.
When I engage in electrical troubleshooting, I adopt a systematic approach. Instead of guessing, I eliminate each potential cause one at a time. Did you know that a significant percentage of common motorcycle wiring problems stem from poor connections or faulty grounds?
Before diving into troubleshooting, it's essential to check your motorcycle wiring and connections; measuring voltage and resistance with a multimeter is crucial. Start with the basics, tracing back to the battery or charging system. Grounding at least three major points ensures a secure connection.
Regularly checking your wiring and connections can prevent future electrical faults. With practice and experience, you will become more proficient at diagnosing and resolving electrical problems quickly.
In summary, understanding the role of each electrical component in your bike's system is vital for effective electrical repair. This knowledge will empower riders to tackle issues confidently and keep their motorcycles running smoothly.
Common Electrical Problems
Sometimes understanding and fixing electrical problems on your motorcycle can feel like solving a mystery. When your bike’s electrical system does something weird, it’s usually trying to tell you something. Pay attention to our symptoms; it might be a flickering light, a dead battery, or a bike that won’t start. These can indicate underlying problems.
Other environmental factors like moisture or extreme temperatures can make it even worse. They cause wire corrosion and loose connections. Regular diagnostics are essential. They catch small problems before they mutate into giant headaches, costing you time and money down the road.
Battery Drains Quickly
A frequent complaint of riders is that the battery loses charge faster than you can utter "kickstand." The problem may be faulty wiring. Accessories may be staying on, or there could be a parasitic draw, something quietly sipping power while the bike is off.
Check the battery's voltage using a multimeter to get started. If it doesn’t reach 11 volts, you may have a bad cell. Look for any loose or corroded terminals too.
A simple test: link terminals A to B, B to C, and C to A. You want readings under 1 Ohm. If not, you’ve found a clue to your mystery.
Sparking Issues
Sparking issues are a bit tricky. Start by examining any connections and wires for damage. Keep an eye open for loose or corroded connections, as these make up around 80% of all electrical issues.
If you see sparking, check your ignition system thoroughly. A faulty stator may be involved; readings higher than 1.5 Ohms often indicate a problem. Look for short circuits, where wires may have broken and caused a short to ground.
Light Malfunctions
When your lights start misbehaving, the usual suspects are blown fuses or bad bulbs. Test your wiring harness for continuity and voltage to ensure everything’s in working order.
Sometimes it’s the switches or relays that control the lighting circuits. In these situations, a thorough test of each component will help narrow down the issue. Broken wires are often the culprit, stopping the electrical current from reaching the lights.
Tools and Techniques for Troubleshooting
When it comes to tackling common motorcycle electrical problems, having the right tools and techniques, along with proper motorcycle wiring knowledge, can make all the difference. Trust me, I’ve been there more times than I’d like to admit.
Essential Tools for Diagnosis
Before you tackle this electrical maze, you'll need to arm yourself with a well-stocked toolkit. Here's what you'll need:
- Multimeter: Absolutely indispensable for measuring voltage, current, and resistance.
- Test Light: Great for checking power and ground connections.
- Wire Cutter: For clean cuts when dealing with wiring.
- Jumper Cables: Handy for bypassing or testing circuits.
The wiring diagram is your map to the bike’s electrical landscape. Not to mention snagging a bit of electrical tape for those quick patch-ups! It’s smart to keep these tools organized in a toolkit. You don’t want to be digging around for a wire cutter when you’re really deep into problem solving.
Techniques for Effective Troubleshooting
Step one is understanding your bike’s electrical system, so don’t skip this. The Ancel MT700 Motorcycle Code Reader is a fantastic diagnostic tool. It helps you quickly identify issues so you can avoid potential headaches.
Regular checks are key too—catching issues early can prevent bigger headaches down the road. When you have a problem, begin with a system. Break down the task: Isolate the problem, one component at a time.
Use voltage checks to identify defective components. For example, checking the battery voltage can tell you a lot about the health of your system. Don’t forget to test the stator and rectifier/regulator separately; they are frequent suspects with electrical problems.
Document everything. It may seem like homework, but taking note of what you find provides progress and solutions. Keep in mind a good ground system and maintenance can prevent 80% of problems.
Keeping things maintained isn't just about preventing breakdowns; it's about riding with peace of mind.
Step-by-Step Guide to Diagnose Issues
Diagnosing electrical problems on your bike can seem overwhelming, but it can be done in an organized way. First, ensure you take proper safety precautions—disconnect the battery and wear insulated gloves to avoid an accident. Gather essential electrical troubleshooting tools, such as a multimeter, and have them on hand so you don't have to stop in the process.
1. Check the Battery
The lifeblood of your bike is its battery. A charged one should read 12.6 to 13 volts. Test the voltage with a multimeter and check for corrosion on connections. If it's below 12 volts with the lights and ignition off, it's time to take action.
Recharge or replace the battery to keep your bike going. Remember, a good battery makes all the difference in a good electrical system.
2. Inspect Main Fuse
Find the main fuse and test for continuity using a multimeter. Make sure to replace blown fuses with the correct amperage rating.
Additionally, check the fuse box for corrosion, as this can cause larger issues later.
3. Examine Ground Wires
Ground wires are important for electrical stability. Inspect them for breaks or corrosion, and test their continuity.
Faulty wires can cause intermittent issues, so repair or replace as needed to keep things running smoothly.
4. Test the Stator
The stator’s job is to produce the electricity for your bike. Measure the AC voltage output at 2000 rpm.
The multimeter should read less than 1 Ohm across the terminals. Any reading over 1.5 Ohms could indicate a bad stator, meaning you need to replace it.
5. Evaluate Regulator and Rectifier
Check the regulator/rectifier to make sure it's producing the appropriate voltage. If you see signs of overheating or damage, it's time to replace it.
Make sure all connections are clean so you're not wasting power.
6. Assess Ignition Coil and Wires
Measure the ignition coil's resistance with a multimeter. Check plug wires for wear or breaks, which can interrupt the spark needed for the engine to run.
Replace any faulty components so you can keep your bike running across the miles.
7. Review Pickup Coil Function
Measure the resistance of the pickup coil and compare it with specs from your manual. Make sure the gap between it and the magnet is correct.
Replace it if readings fall outside limits to ensure reliable ignition timing.
8. Analyze Source Coil Performance
Lastly, check the source coil’s resistance against ground. It should match manual specs to ensure it works optimally.
Discrepancies here could lead to bigger electrical issues. Tools like the Ancel MT700 can make diagnostics painless, saving time and avoiding future headaches.
Advanced Electrical Components
Delving into the more advanced elements of your motorcycle’s electrical system, including common motorcycle wiring problems, can be quite revealing. It is like finding gold nuggets that help make your bike perform better and be more dependable. Don’t forget about these electrical components! They are essential for a smooth ride.
Importance of the Alternator
Now let’s talk about the alternator. This little beauty produces electrical power with the engine running. Consider it a mini power plant for your bike. If you have a bad alternator, your battery can die very quickly. This causes frustrating performance problems you absolutely want to avoid.
Regular inspections are your best friend here. Trust me, checking your alternator makes sure it’s spinning out power like it should. The first step in fixing something is understanding how it works. So pick up that multimeter, and if it registers under one ohm for all three tabs, you're good to go!
Role of the Rectifier and Voltage Regulator
Ok, moving on to the rectifier and voltage regulator duo, these guys go hand in hand. The rectifier converts that AC voltage to DC. This is critical to keeping your battery and electrical system in excellent condition.
Meanwhile, the voltage regulator maintains those voltage levels steady, ensuring that no electrical hiccup happens. They have to be aligned for them to work best. A minor malfunction would be a wrench in your works, which would result in flickering lights or even a stalled engine.
It’s no secret: 40% of motorcycle electrical problems are due to poor wiring. So bundle those wires and get them away from the heat, moisture, and mechanical abrasion.
Preventative Measures and Best Practices
Dealing with motorcycle electrical problems can be like putting a puzzle together. With some smart steps, we can reduce those annoying concerns. First, diagnostics on a regular basis are the secret. It’s like taking your bike in for a health exam. By doing that, you catch problems before they start.
Understanding how your system works is critical. It’s not just wires; it’s a whole network. You might draw a diagram, which makes it easier to see where things might go wrong.
Avoid Wiring Mistakes
Wiring mistakes can cause all kinds of headaches. Stick with proper wiring practice—no shortcuts. Use the right gauge wires for each load to keep everything running safely.
Double-check connections and splices at all times. It’s like tightening the bolts on your bike; you don’t want anything shaking loose.
Use Correct Wiring Diagram
Using your motorcycle’s wiring diagram is a lifesaver. It’s like having a map when you’re lost. Keep a copy in your back pocket.
When something’s off, the diagram helps you trace the issue quickly.
Ensure Proper Ground Connections
Ground connections are the invisible heroes of your electrical system. Make sure they’re clean and tight. A little dab of anti-corrosion grease can do wonders and keep them conductive.
Regular inspections as part of your maintenance routine can catch issues early.
Label and Organize Wires
It may seem tedious to label the wires, but this is a game changer. It’s like having a filing system for your bike’s insides. Bundle wiring harnesses so they don’t tangle.
Use color-coded labels; it’s like a road map for your circuits and components.
Make Durable Connections
Strong connections are your best friend. Whether soldering or crimping, that’s the way to go. Avoid using electrical tape for long-term solutions; this is more of a band-aid.
Regularly inspect connections for wear or corrosion to maintain solidity.
Protect Electrical Wires
Protecting wires extends their life. Use sheathing to protect against abrasion and environmental hazards. Keep wires away from heat and moving parts.
Regular checks for frayed insulation can prevent shorts before they happen.
Safety Tips for Repairs
Before you get into motorcycle electrics, have a plan. Get the gear you need for the road ahead! First and foremost, make sure to disconnect the battery before you start poking around. Trust me, this one simple step will prevent you from a shocking experience—literally.
You never know when a wire is live, but even the slightest mistake can lead to a zap. The human body, meanwhile, usually tolerates small currents thanks to its native resistance. However, a sudden static zap can startle you and throw you off your game. So, save yourself the drama and make battery disconnection your ritual.
Next up is your gear. No, I’m not talking about your riding leathers here. I mean personal protective equipment (PPE). A good pair of insulated gloves and safety glasses, and you're good to go. You can think of them as your reliable helmet and jacket, but for the garage.
They’re your first line of defense against rogue sparks or flying debris. Don’t forget, when those wires are clear of hot spots on your bike, you aren’t needlessly damaging them. Heat and wiring are like oil and water—they just don’t mix.
Following the manufacturer guidelines is like having a map on your journey. Every bike is different, and these guidelines are written with that in mind. They’re not simply recommendations—they’re road signs guiding you away from peril.
Plus, using the right tools—like insulated crimping tools—can make the job smoother and safer. Tools are like a mechanic’s best friends—you can’t do precise work without them. Similarly, a trusty GPS tells a road-tripper where to go directly to their destination—avoiding any accidental side routes.
We cannot forget about corrosion prevention. Anti-corrosion grease or spray is the unsung hero in your toolkit. Apply it liberally on plugs, joins, and terminations. It’s sunscreen for your bike’s electrics, protecting against rust while maintaining the strength of those connections.
Conclusion
Riding isn’t just about the thrills; sometimes it’s about confronting the hiccups head-on. You finally got the 411 on troubleshooting those electrical gremlins that can short-circuit your ride’s groove. Keep in mind, it’s not magic—it’s a combination of patience, the proper tools, and knowledge. So when your headlamp flickers or your battery dies, don’t be afraid to get your hands dirty. Doing so will deepen your understanding of your bike.
You’ve learned the fundamentals and pinpointed the usual suspects. Now, you’re armed with some nifty tips to keep your bike running smooth! Now it’s time to test that knowledge. Put your head down, trust your instincts, and get those wheels turning. If you run into trouble, come and visit our website. Either way, we’re here to keep you cruising. So, strap in, play it safe, and let’s keep the ride rolling!
Frequently Asked Questions
What are common signs of motorcycle electrical problems?
Look for dim lights, a dead battery, or problems starting the engine, as these may signal common motorcycle wiring problems. Flickering lights, blown fuses, or unusual noises can also indicate an electrical fault; addressing these early can prevent more complicated issues.
How can I troubleshoot a motorcycle's electrical system?
Start with the battery and connections, ensuring no common motorcycle wiring problems exist. Use a multimeter to check the voltage and test lights to identify any electrical faults effectively.
What tools do I need for motorcycle electrical repairs?
Essential tools for electrical troubleshooting include multimeters, wire strippers, screwdrivers, and electrical tape, enabling you to diagnose and fix common motorcycle wiring problems quickly.
How can I prevent electrical problems in my motorcycle?
Regular maintenance is key to preventing common motorcycle wiring problems. Check and clean connections, inspect the wiring, and ensure the battery is healthy to limit electrical faults.
Are there safety tips for repairing motorcycle electrical systems?
Before any electrical repair, disconnecting the battery is always a good idea. Use insulated tools and avoid working on wet surfaces. Safety gear, such as gloves and goggles, protects riders from electrical hazards.
What advanced components might require professional attention?
Components like the ECU, alternator, or nuanced sensors are often best left to experts, as they are critical to motorcycle wiring and performance. Professional assistance is essential for addressing electrical problems effectively.
Share: